Host a Pie Day with Friends

The Day I Stopped Saying I Can’t
Have you ever watched a child and been amazed at their confidence? They are the ones to sign up for the talent show before they figure out what their talent might be. They are quick to try so long as it doesn’t involve vegetables and are often corrected for their “I can do it!” attitude. The correction comes in the form of a much-needed age and experience level reminder. They might be able to help crack the eggs but are still too little for the stove. Yet, while these corrections and reminders are an essential part of child rearing, it does not take from the fact that they believe they can do just about anything—apart from cleaning up the house, of course. I love watching the way their eyes sparkle as they run at full speed or make their first PBJ. They might find the learning process frustrating and need the perseverance reminders down the road, but when they dream, the sky's the limit. I want to be more like that.

I think that's how we were created to be. God put dreams and desires and delights within us that bring life and color and glory to His name. The Bible says that whatever you do, work at it with all of your heart, as working for the Lord, not for men. Somewhere along the line, my lists of can’ts got really long and I’m ready to change that. (Get ready, this is where I bring it full circle) Drum roll please… Introducing Pie Day!
Still don’t see the connection? First up on my can’t-or-could-not list is: make a pie. (Laugh, it's okay.) I’m not really sure why, but I just couldn't see myself as a woman who could make a successful pie.
After all, the kitchen has never been my place to shine. Somewhere along the way, I accepted the label–maybe from myself, maybe from others–and just stayed in that box. But I’m learning that those labels only define us if we let them. Apparently, I had started to set my ambition bar real low. But one day, I began to wonder why I ever believed some of those things in the first place. If I say I can’t do something as simple as making a pie, how am I going to respond to much bigger opportunities down the road?
So let’s dive in:
#1: I Can’t… Bake a Pie Day

On a random Wednesday, midafternoon, I called up my cousin crew and asked who felt like baking a pie. Turns out everyone felt their midweek was missing a bit of fruit-filled dessert. I then very responsibly told each of them that I could only participate in pie day if I hosted because my mounds of laundry needed some serious attention. No laundry was completed, but I’m pretty sure it’s the thought that really counts. Rather, ten pies, in varying levels of beauty, were created for absolutely no reason at all. And…it was the best.
My dream for this blog is that we can try new things right alongside each other to add a bit of fun to our lives because we only get one so why not enjoy it?
First Step: Grab a Friend or a Handful of Them

Are you looking for community or do you find your days have become rather monotonous? If so, hosting a pie baking day is a great way to bring a little life to your week. We had a total of eight kids five and under living their best life in the backyard or strapped to our hips as we rolled out dough. Why shouldn’t a play day be for the moms as much as the kids? I do recommend starting earlier than we did (before noon) and packing lunches for the kiddos so that the only food preparation in the kitchen is the pies.
Step Two: Prep Your Dough + Chill It (Night Before)
If you plan to have a larger group, like we did, I highly suggest having each person make their pie dough ahead of time. We did not do this and it takes a lot of time to make all the separate batches of dough and chill them for the required amount of time. I have found, from my twice pie baking expertise, that cold dough makes all the difference. None of us had ever baked a pie and found a fairly simple recipe that would have been easy to prepare the day before and chill overnight. One of my cousins said she might even consider buying a premade crust for a future pie day. You have options, people! During this time, look up different pies to decide on what type of topping you are looking for—a crumb top or an intricate lattice work design.
Here is what you will need outside of your pie ingredients:
A Rolling Pin. (I have a wooden one, but my sister-in-law has a marble one and while they both work, hers does a much better job because it keeps the dough cold.)
A Pie Dish
Kitchen Shears or a Knife to cut strips of dough if you plan to do lattice work.
(For Apple Pie): Apple Peeler Corer (Not required, but super helpful to have).
Lots of flour so that your dough doesn’t stick to your countertops or rolling pins
(For Berry Pie) A Large Pot to boil all the pie filling.
Step Three: Grocery Shopping

We all decided on the pie we were wanting to make, which ended up being both of the pie options—hence the ten pies. We settled on a berry and apple pie for each of us. We have also since learned that you can divide your bottom crust to create a barrier if you want a half apple, half berry pie, but let’s be real, none of us lost sleep over having two pies to eat instead of one. I actually went ahead and did all the grocery shopping and everyone venmoed me—I SUPER overbought on berries so buyer beware. I think this will go better for you because we had no idea what we were doing and were pulling from four different recipes for a plan that was only set into motion at noon and may not have been thoroughly thought out. We used granny smith apples and our berry pie consisted of frozen blackberries, raspberries, and blueberries.
Each of us ended up having some of the needed ingredients at home so we all brought our own butter and then I bought a ton of flour, sugar, and all the fruit filling. However, if you are making your pie dough ahead of time, your grocery list can change accordingly.
Step Four: Make the Filling + Chill the Dough
Depending on the pie, your filling will take a while to make. We had a couple people making dough, another boiling the berries, and another cutting and coring apples. Since your dough will be pre-made, I recommend having everyone put their dough in the fridge upon arriving and then start by making your fillings before any dough is rolled out. Also, if your berries burn to the bottom of the pan like ours did, it's a beast to get out—small plug for Bar Keepers Friend so you can avoid that nightmare altogether. Once your fillings are ready, a huge pot of berries and a bowl of prepped apples according to their recipes, you can move to step two. (PS: I would turn off the stove for the berries once they are prepped and ready to go). If you are planning to do a crumb top, I would also recommend making that now before you roll out your dough.
Step Five: Rolling Out the Dough

Now it's time to get rolling. (See what I did there?) You are going to need some counter space and a lot of flour. If you do not want to dust your counter space and rolling pin with flour, my mother-in-law told me about a saran wrap hack. Apparently you can avoid the mess by placing your dough between two pieces of saran wrap and rolling it out that way. I have yet to try this, but it sounds amazing and she has baked more than two pies. Lol
Step Six: Prep Your Pie Dish

Place your rolled dough into your pie dish, cut off the excess, and create your edging. I am the least artistic of my group, so I went with the fork edge design, but some of the others created a super cute fluted edge. Once you have completed, fill your pies with the toppings and set aside while you create the final top layer.
Step Seven: Prep the Top Crust
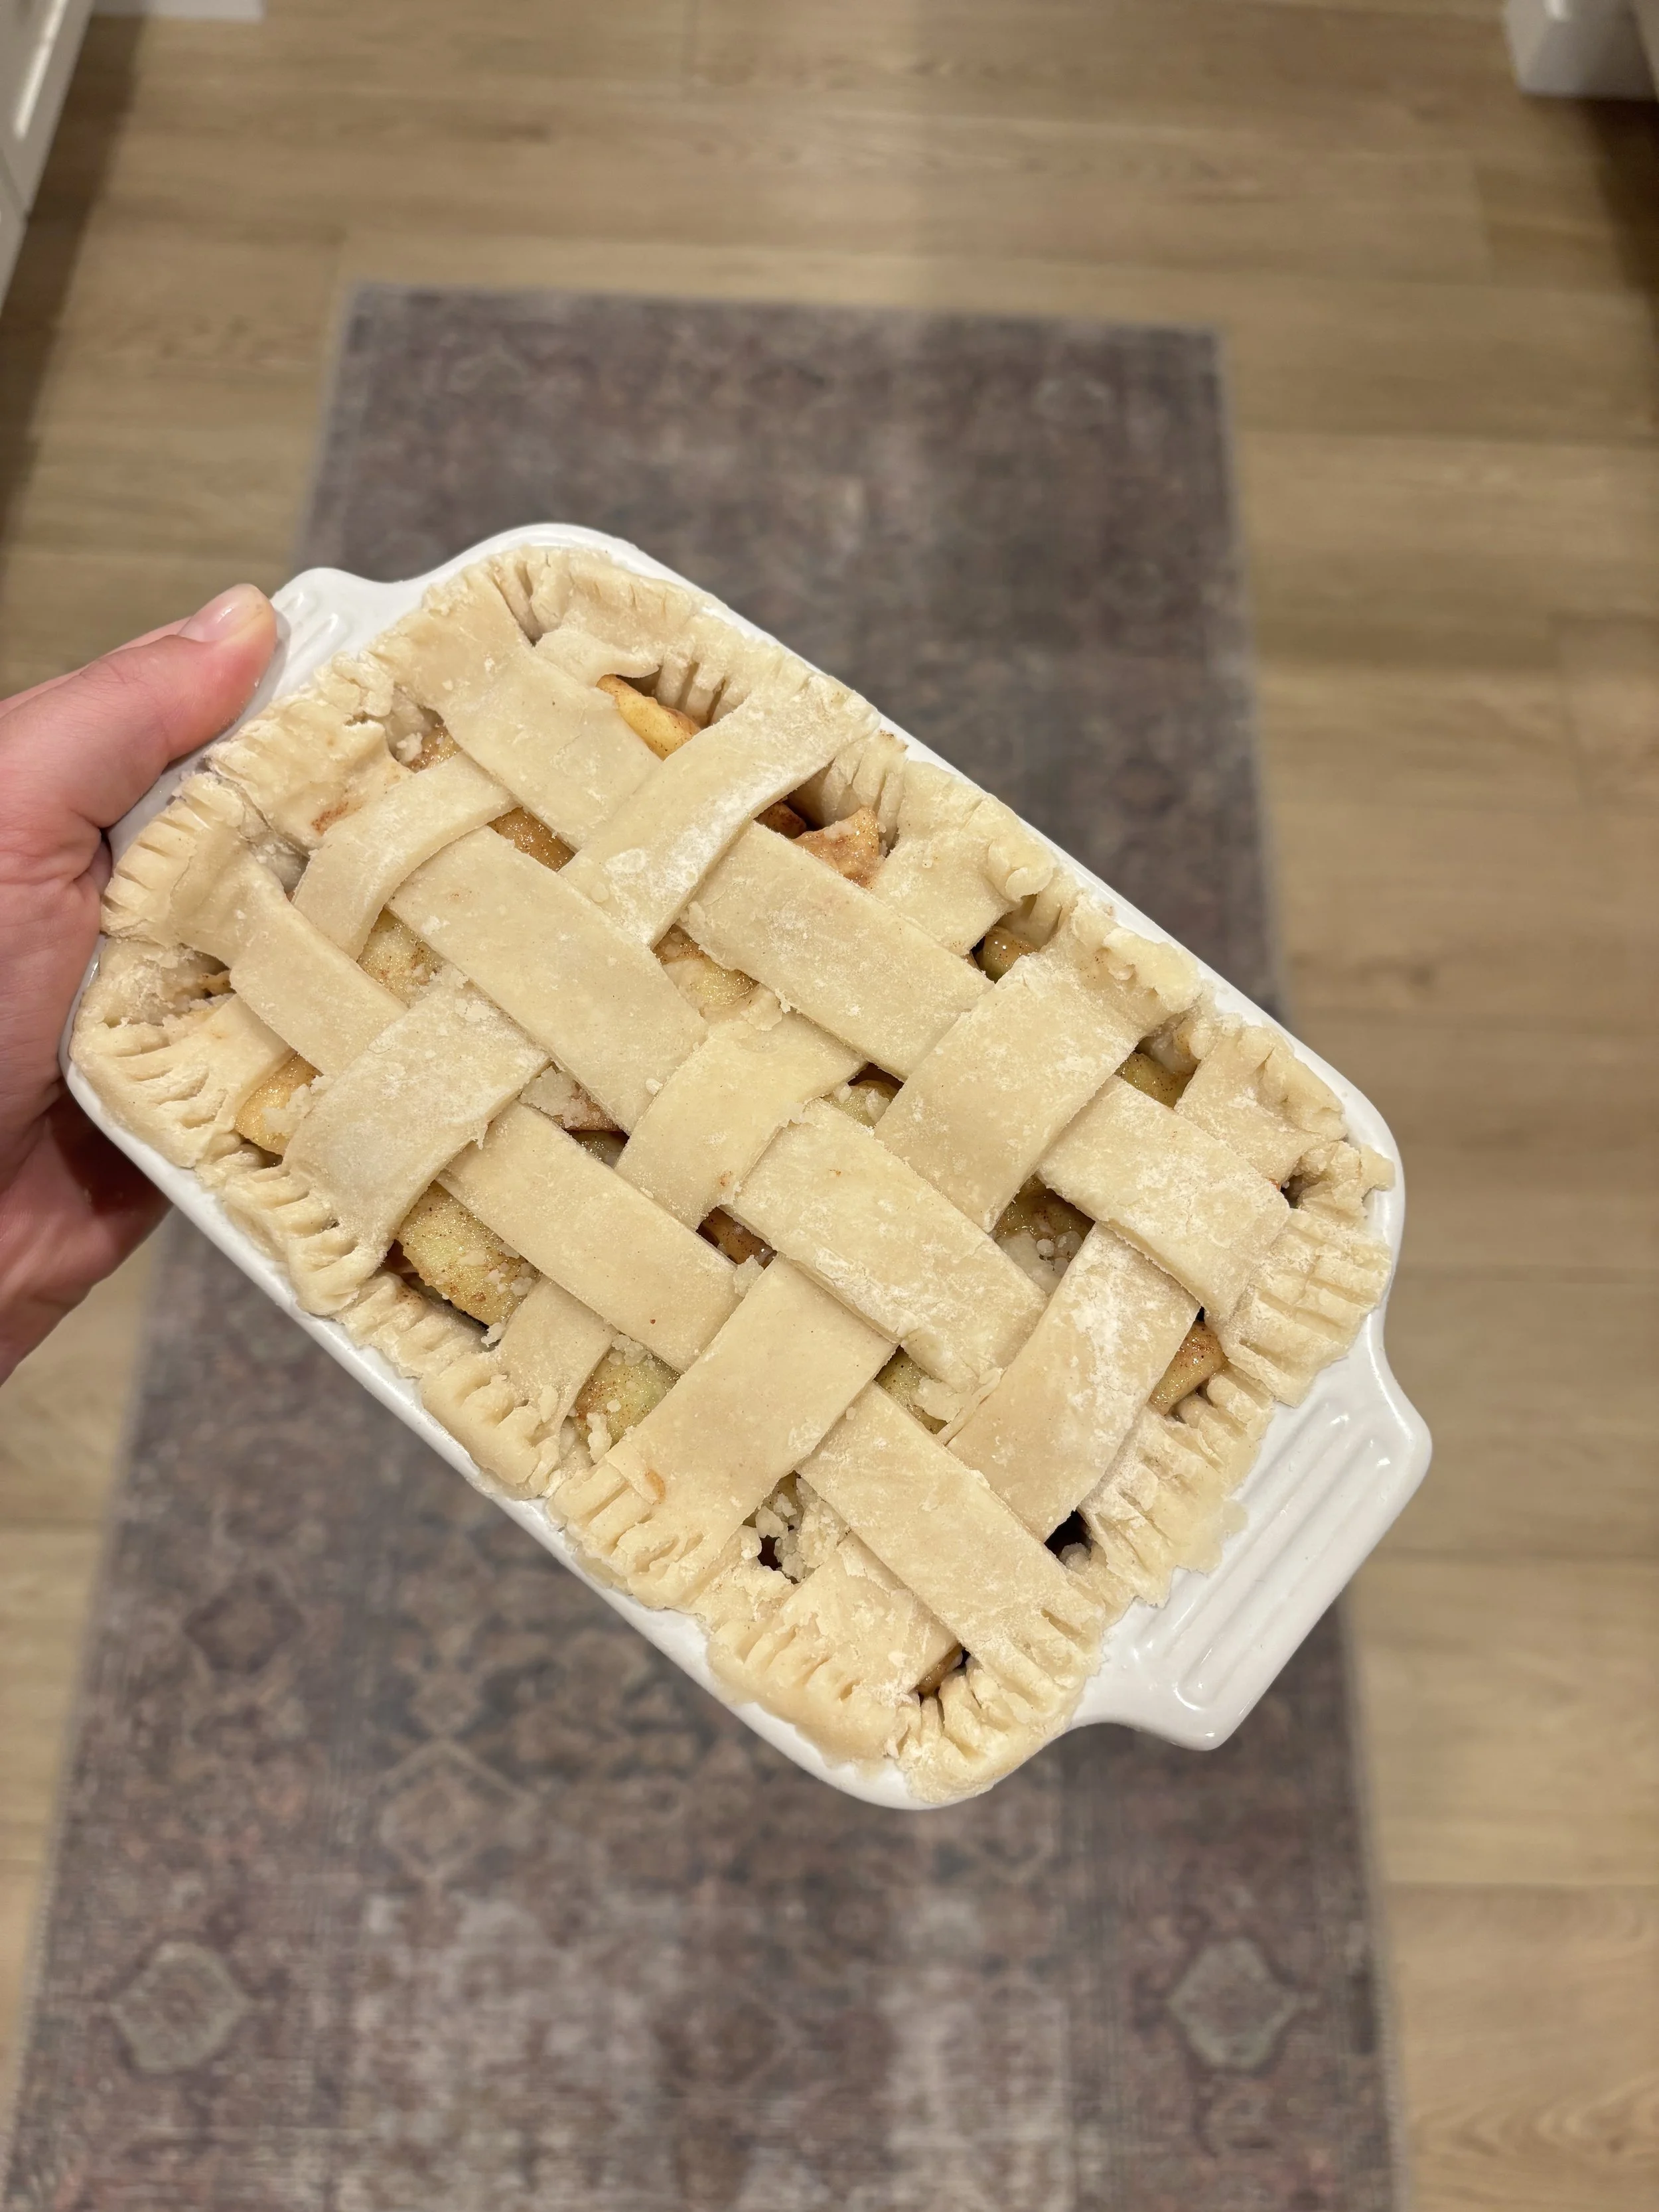
If you chose a top crust or lattice design for your pie, you can start preparing that now. We found that using kitchen shears to cut the strips and laying out our design on the counter first made it easier to place on the berry pies without staining the top with juice. Apple is a lot more flexible. There are so many cute design options so do your research ahead of time to find one that will challenge and excite you.
If you chose the delicious crumb top, go ahead and layer it on there as desired.
Step Eight: I Can… Make a Pie Day
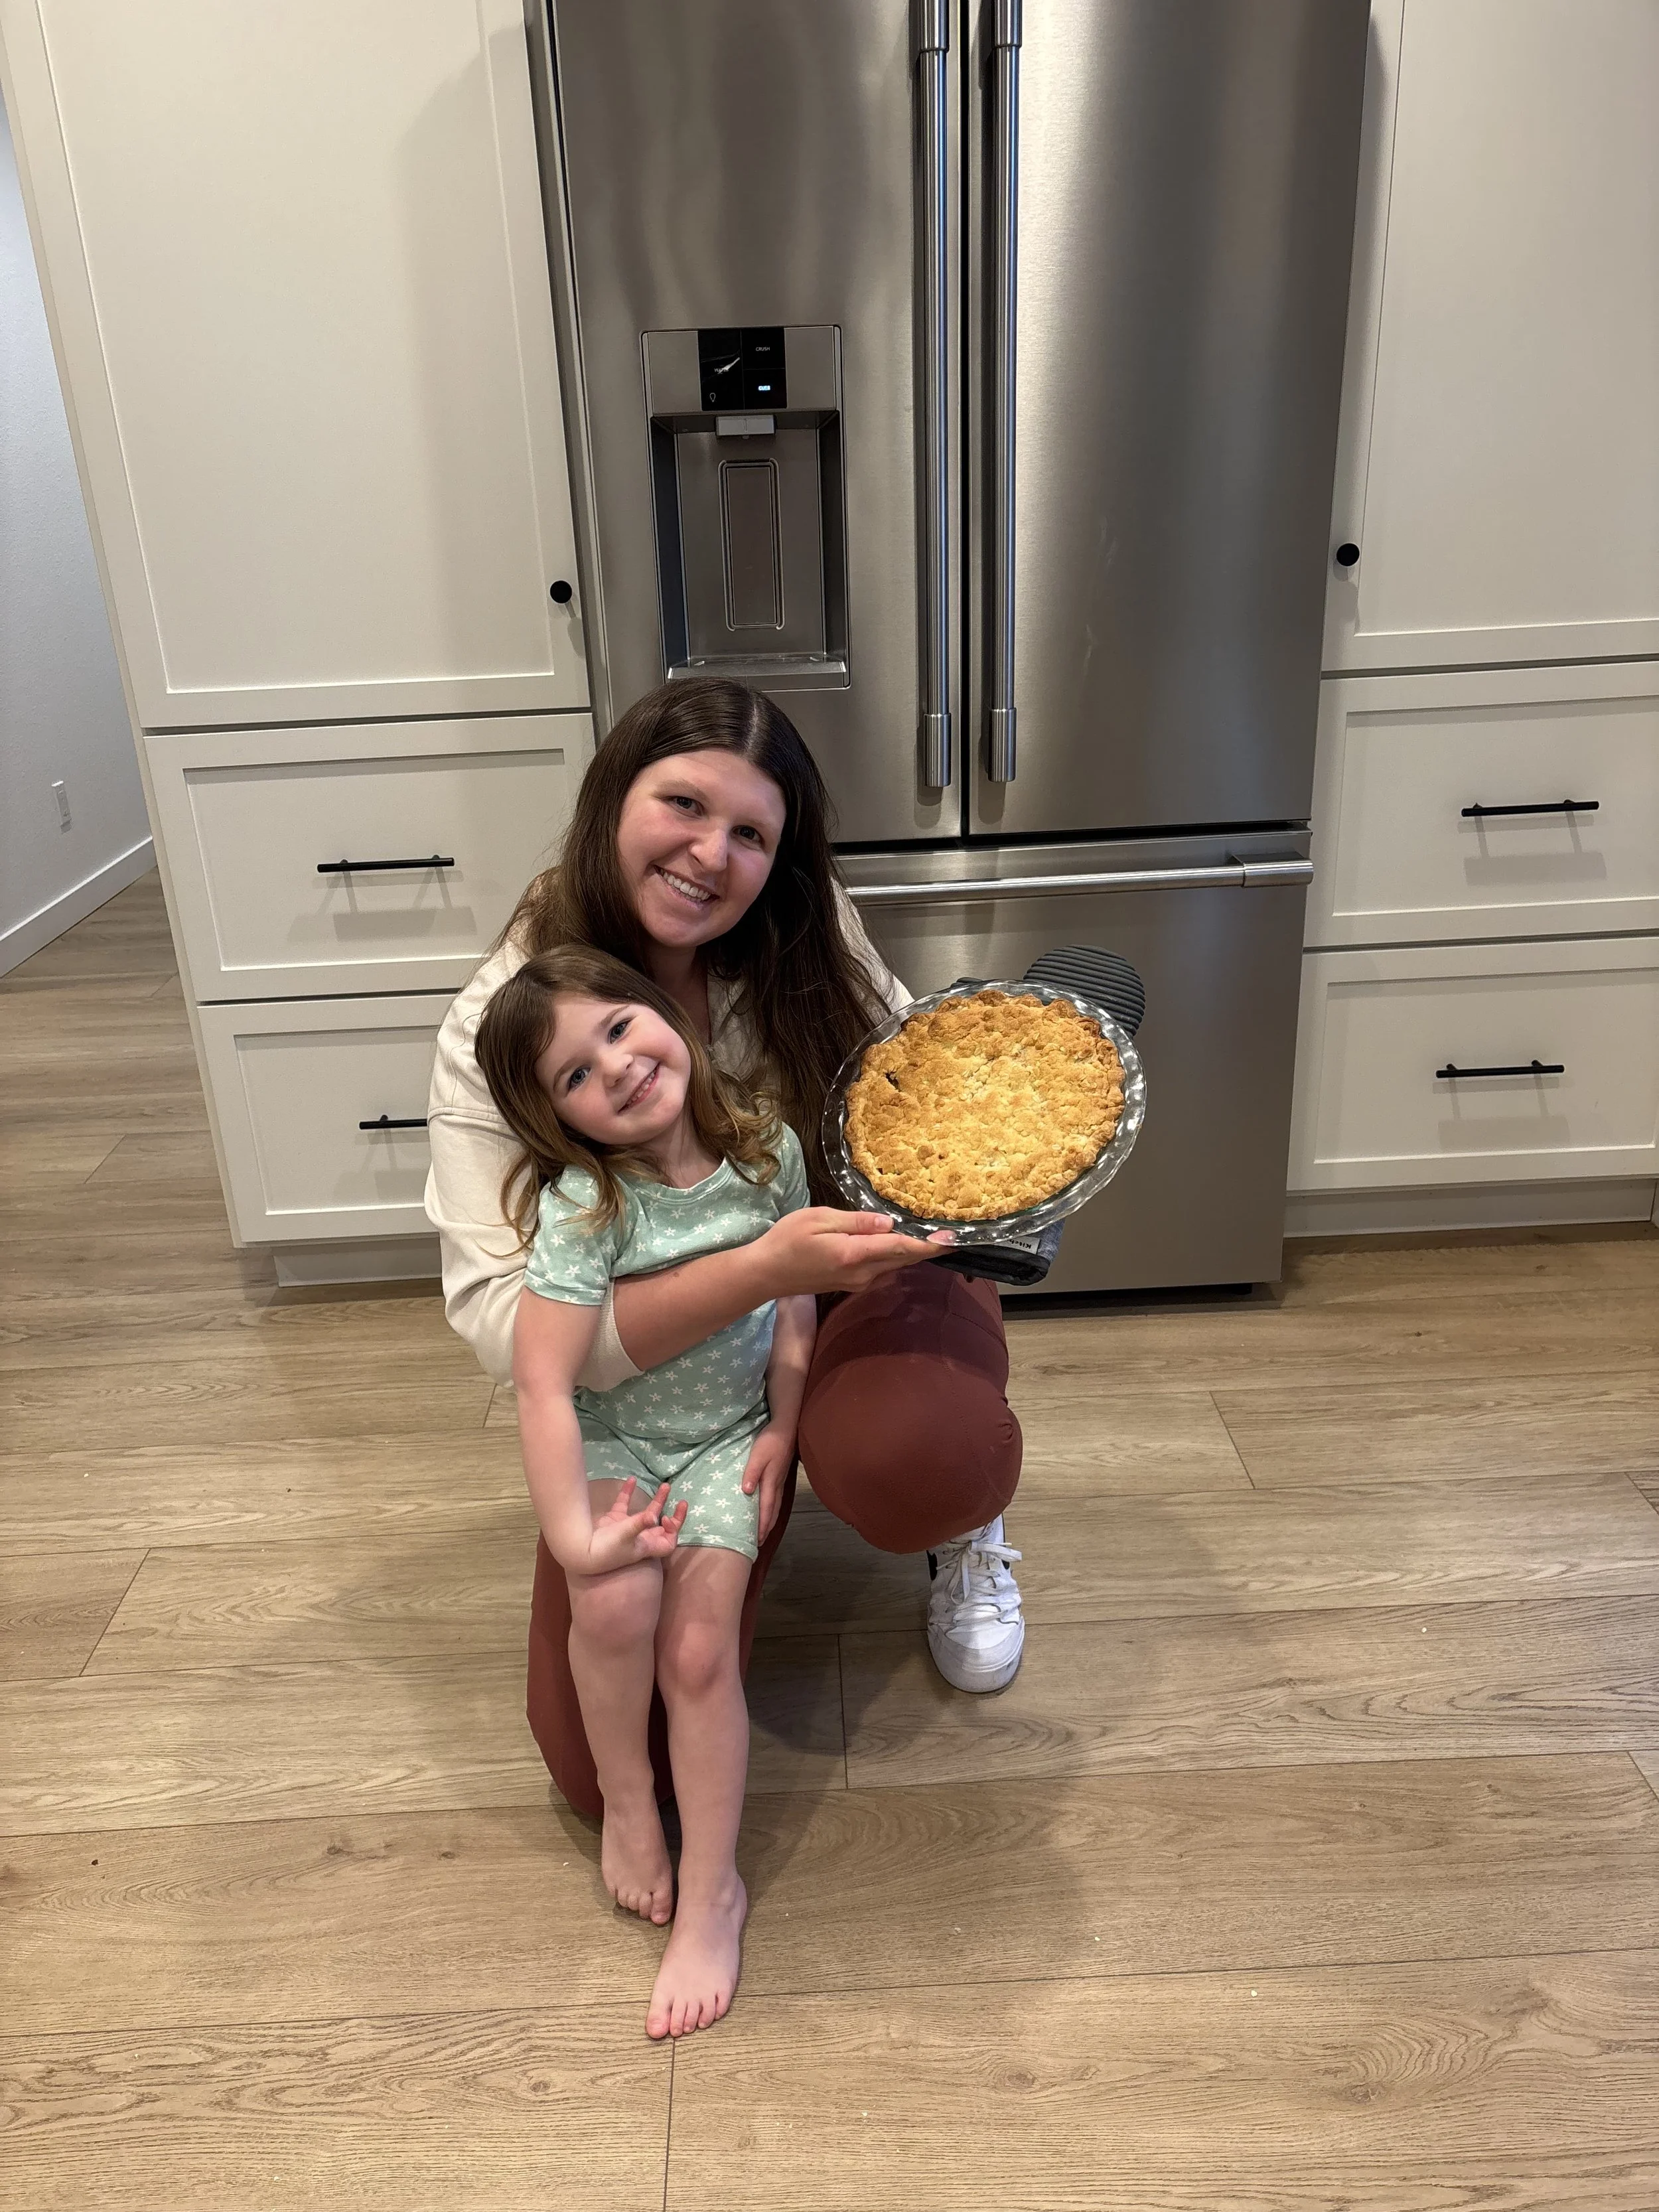
Final step, baking! We chose to take our pies home and bake on our own time schedules, but that is because we were running very late. However, if this was a summer activity, having the guys BBQ or bring in pizza for a pie dessert night would also be a super fun idea.
After finishing our pies, we prepared little “Cutie Pies” for the kids with all the pie crust scraps. If you run out of filling, my grandma always used jelly and called them jelly tarts. We happened to have a lot of leftover filling and crumb topping so we called the kids in one by one to create their own pies in little ramekin dishes and then cut their initial into pie dough to tell whose was whose. They turned out so cute and it ended up being a fun little craft for the kids.

You, my friends, just made a pie! Go ahead, pat yourself on the back. My cousins and I had the best day together and I was honestly giddy at my creation and accomplishment. My house was a dumpster fire mess, but it was so worth it. While thankful for the pie, my husband was a bit confused by my excitement—and why I ever thought I couldn’t make one. But I told him it wasn’t really about the pie. It was about the fact that if I can do the things I’ve spent years telling myself I can’t, then my world just got a whole lot bigger. Let’s stop telling ourselves all the things we can’t do, and start living like a child.

This was the first of many things I’ve told myself I couldn’t do… and I’m not stopping here. Stay tuned for the next installment in my “I Can’t” series—because it turns out, we actually can.
I hope you guys enjoy this day as much as we did! 🙂

Tried your hand at Pie Day? I want to hear all about it!
Drop a comment below with your pie tales—triumphs, flops, crumb toppings gone wild. What did you bake? Who joined you? And did your kitchen survive? 🍓🥧
Let’s turn “I can’t” into “I did” together.